User Guide
Welcome to the user guide for Jupyter AI. Make sure to see our guide on Getting Started if you haven’t already, which covers installation and setup.
Using the chat interface
Create a new chat
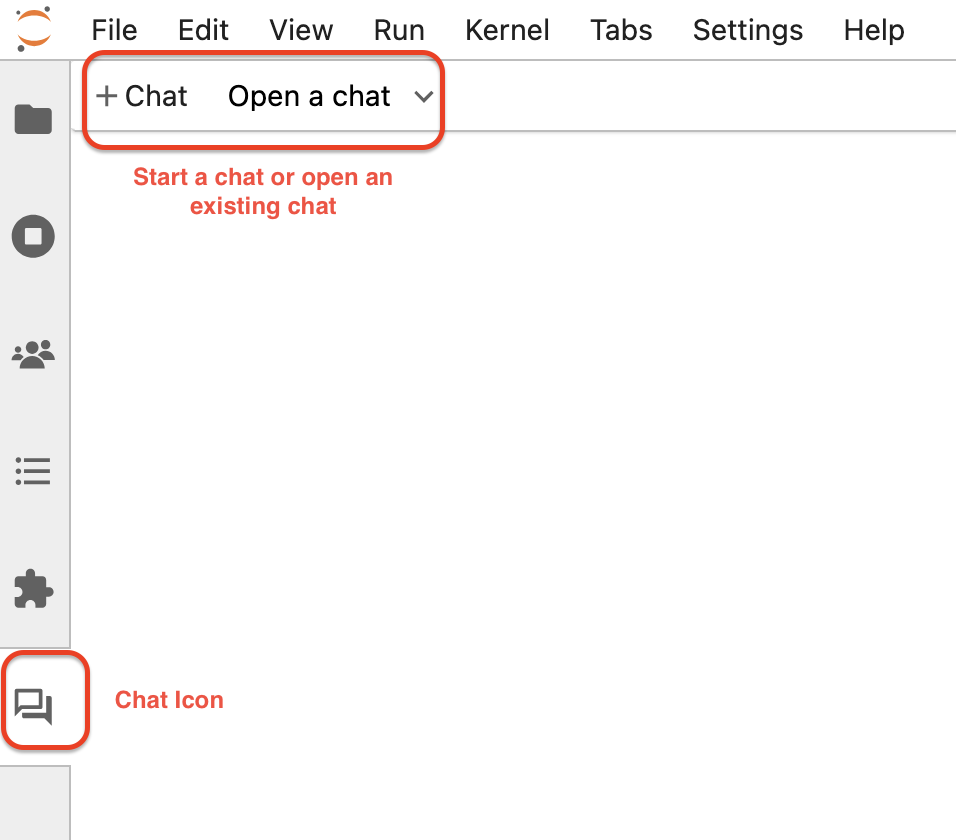
Once you have started JupyterLab, click the new “chat” icon in the left side panel to open the chat interface. You can right-click on the panel icon and move it to the other side, if you prefer.
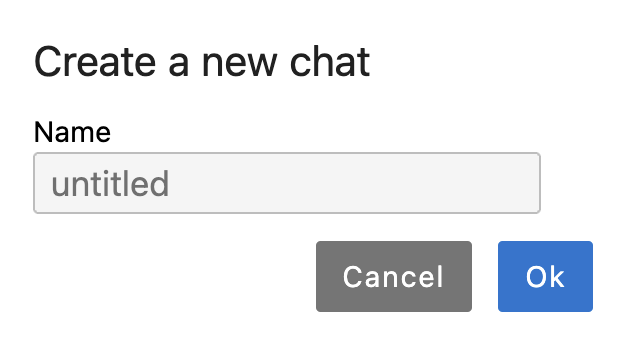
This will open a prompt to name the chat. Give it a reasonable name:
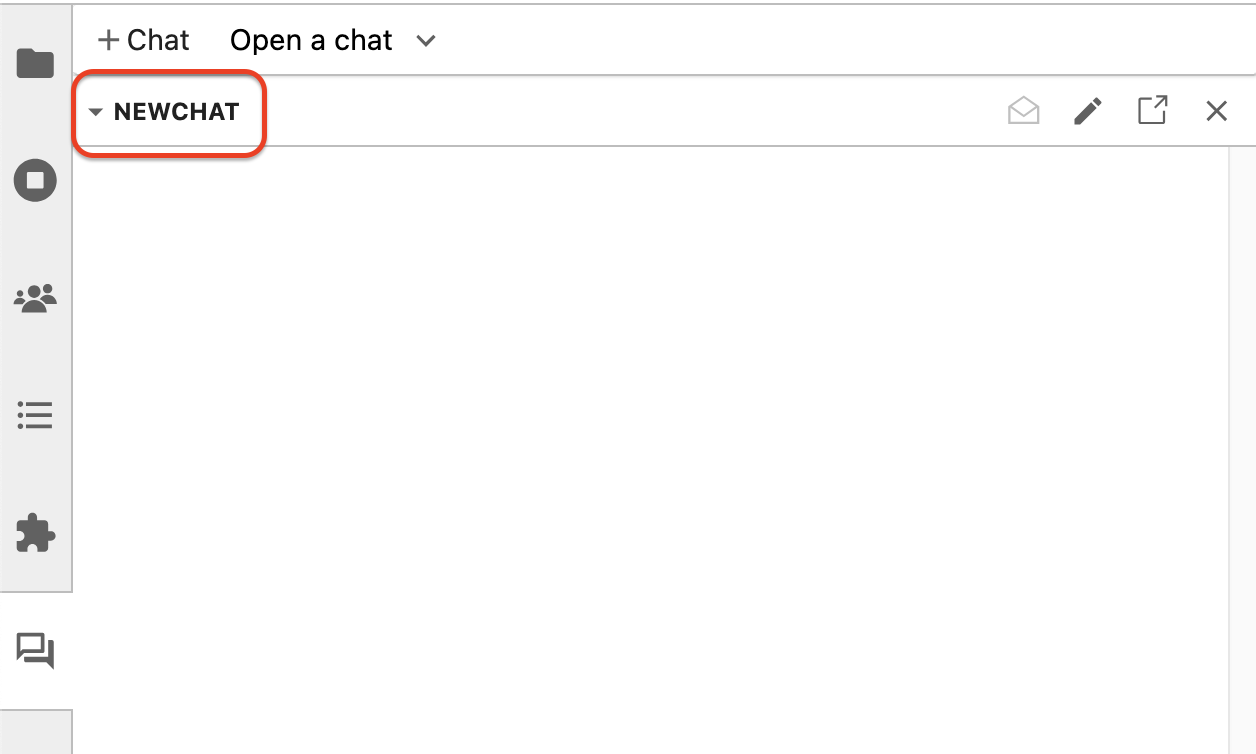
After clicking “OK”, you will see a new chat created in your side panel:
Mention an AI persona
AI personas always respond to user messages in the chat panel when @-mentioned.
You can now @-mention the Persona in a new message and issue a request as shown below.
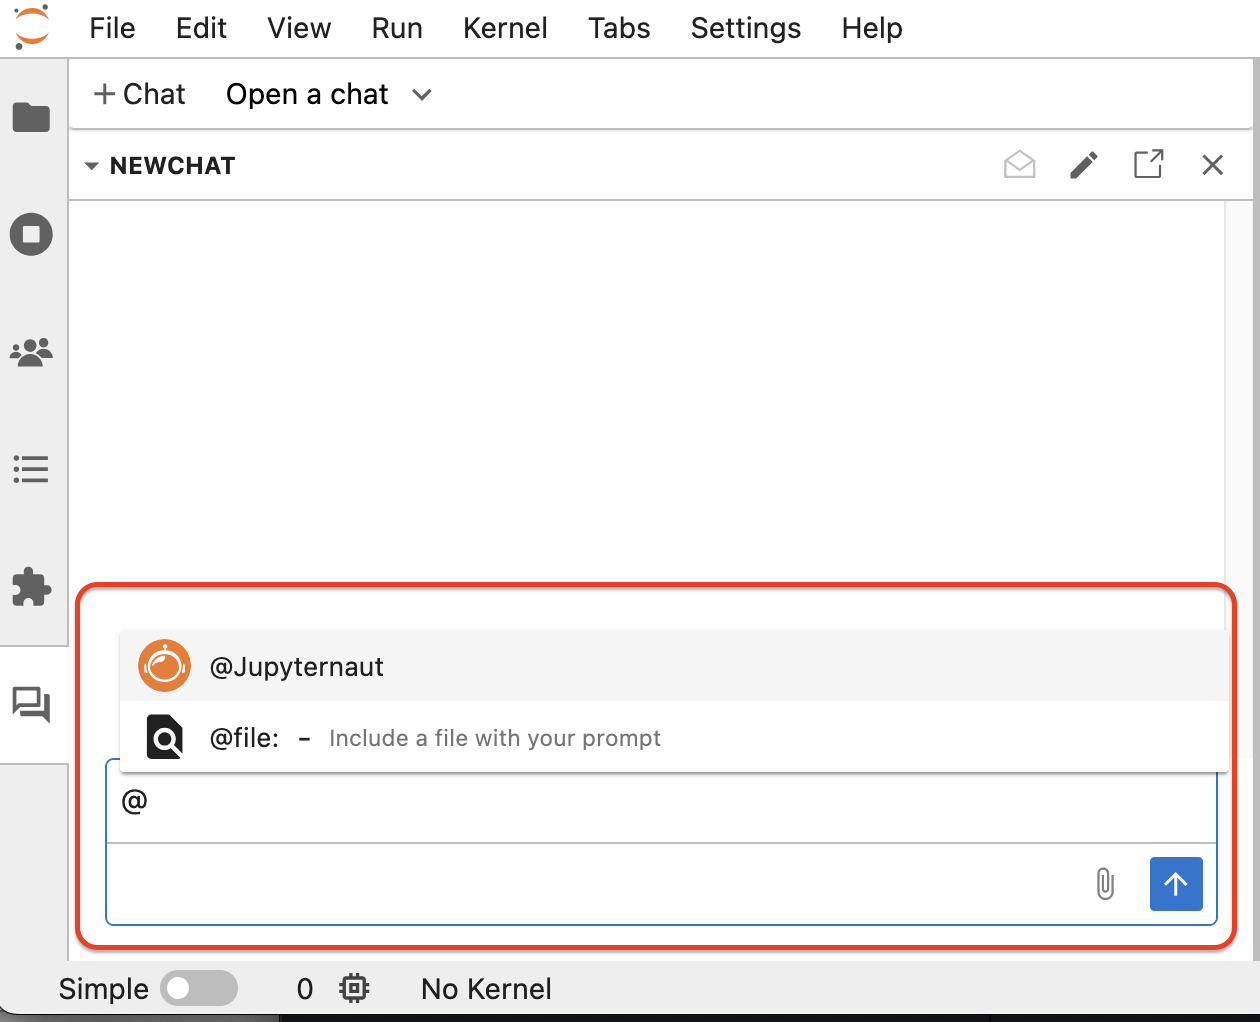
To compose a message, type it in the text box at the bottom of the chat
interface and press ENTER to send it. You can press
SHIFT+ENTER to add a new line. Once you have sent a
message, you should see a response from the AI persona you @-mentioned.
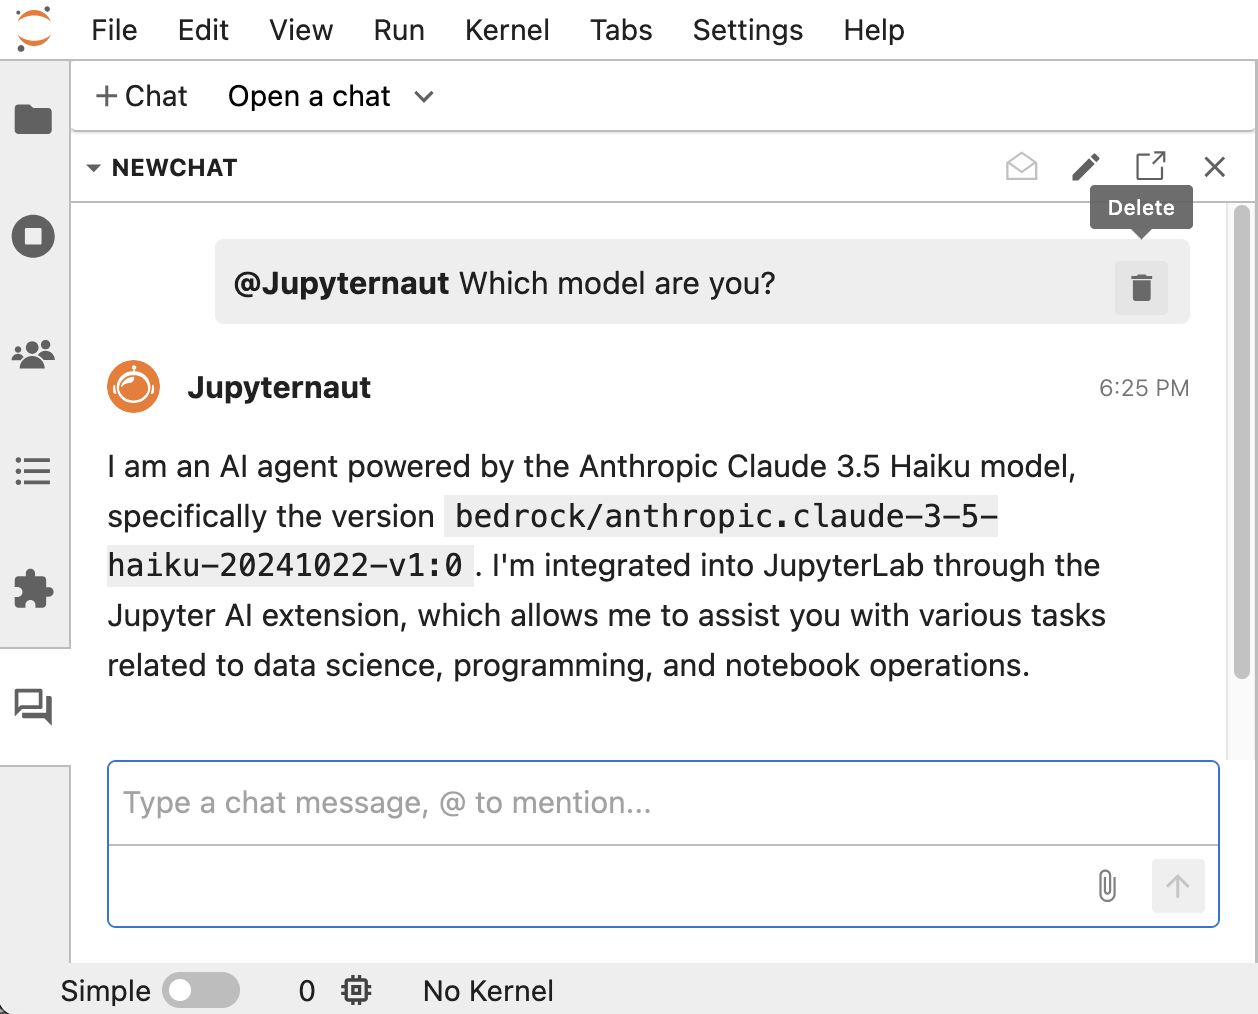
You can also see the Delete button shown alongside the prompt if you need to
clear up the chat; there is a similar button in the response area as well.
Chat features
Chats are files
Chats are appear as files named <chat_name>.chat. Each .chat file contains
the entire history of the chat. These files are saved to disk, so you can
resume any chat by re-opening the .chat file.
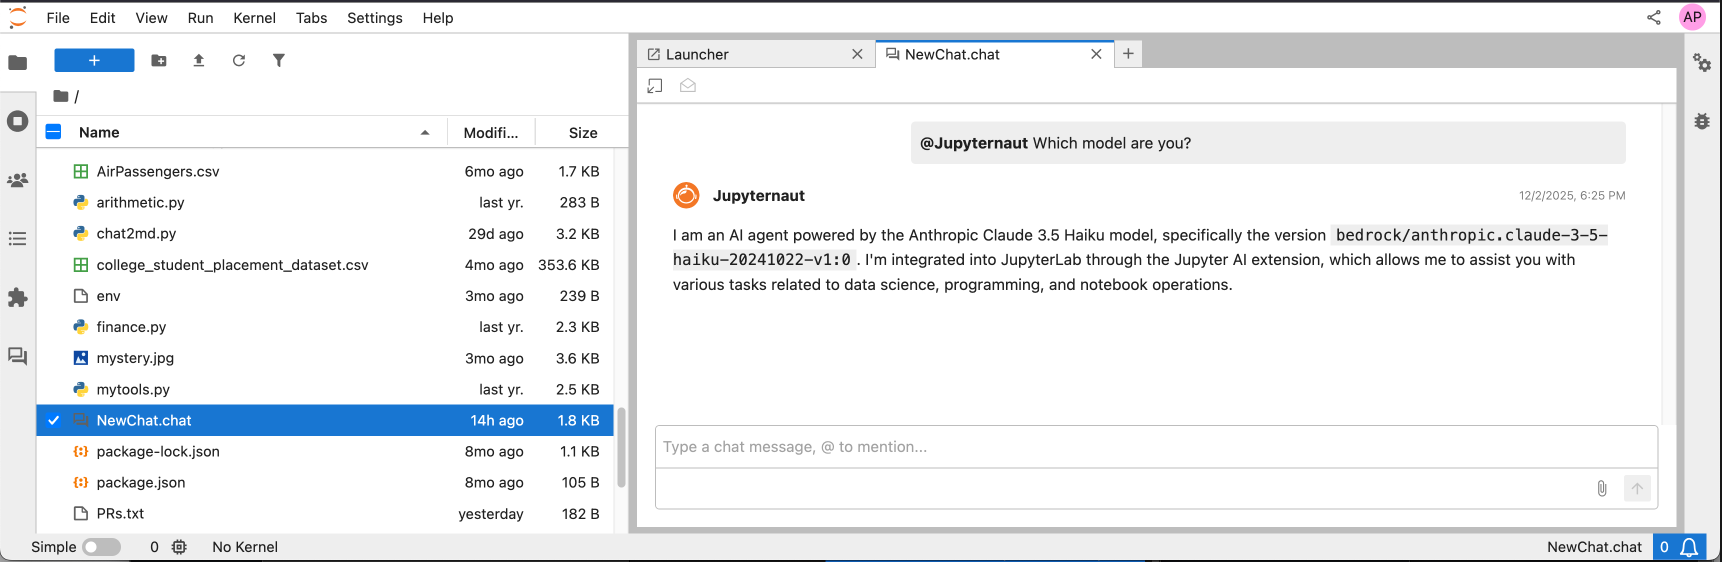
You can also delete a chat simply by deleting the corresponding .chat file.
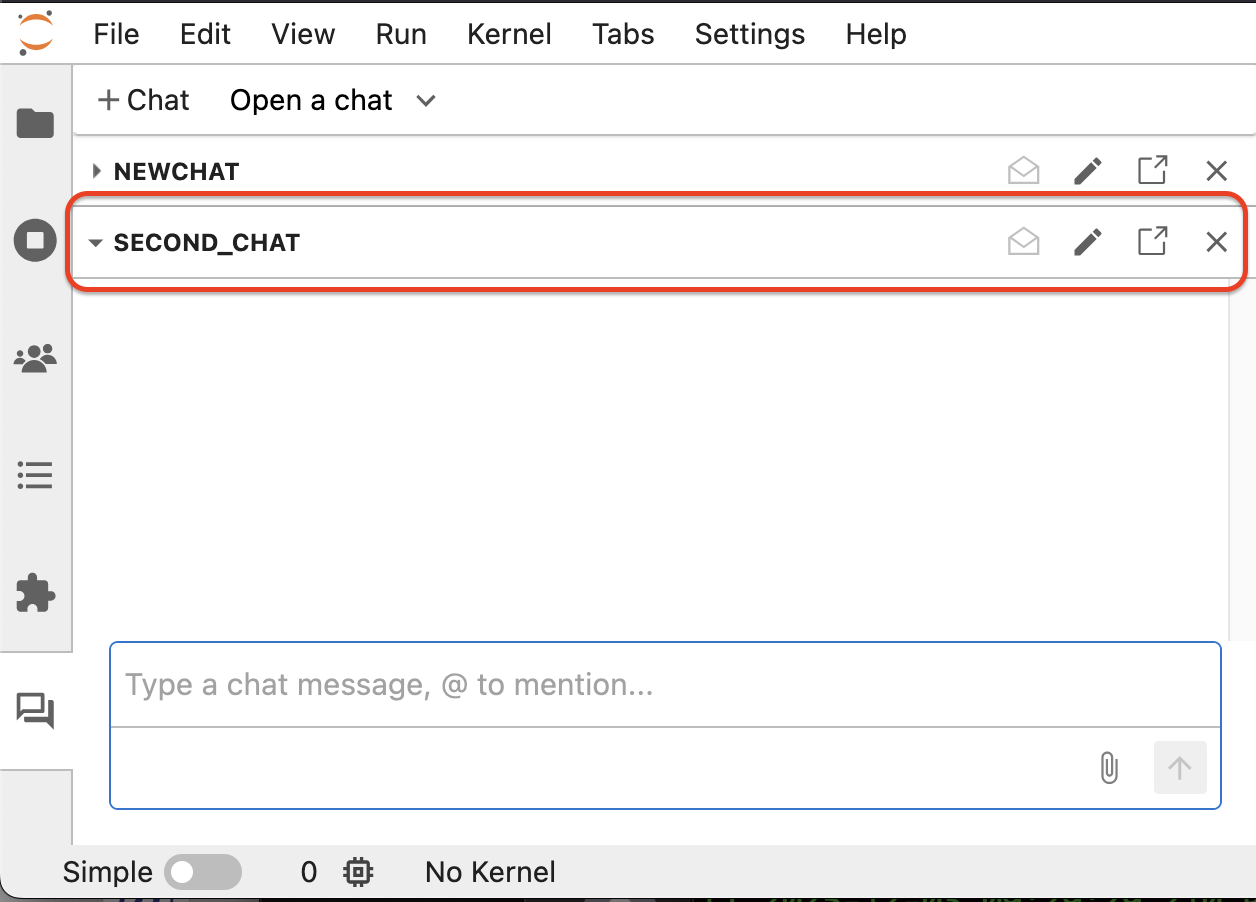
Chats are threads
You can create multiple chats to manage different threads of conversation. From
the chat side panel, you can click + Chat to open a new chat to start a
different thread.
Add attachments
The chat panel supports message attachments, which allow you to share additional context with an AI persona without copying and pasting.
The easiest way to do this is to simply drag and drop a file into the chat input. This will add the file as an attachment. You may also drag and drop notebook cells into the chat input. You may also use the file picker UI by clicking the paperclip icon in the chatbox.
AI personas will read message attachments and use them to assist with your request.
The @file command
Another way of adding attachments is offered through the @file:<file-path>
command, which allows you to quickly attach a file given its path. This will
open an auto-complete menu that helps navigate your workspace’s file tree to
find the right file to add.
Personas reply intelligently
Personas reply intelligently based on the number of other connected users and
other AI personas. If you are the only user connected to your JupyterLab server,
the last mentioned persona will always reply. You will only need to @-mention
the persona in the first message of a chat or when you switch personas in
subsequent messages.
When you send a message that does not @-mention an AI persona, the following
rules are used to determine whether an AI persona will reply automatically.
1 user, 1 persona: The one AI persona always replies to new messages
1 user, >1 personas: The last mentioned AI persona always replies to new messages
>1 users, >=1 personas: Personas never reply automatically to new messages, they must be
@-mentioned
Code toolbar shortcuts
Jupyter AI provides some quick shortcuts for code blocks returned by an agent. You can use these to copy the code to your clipboard, insert it as a notebook cell above/below the active cell, or replace the active cell of a notebook in the main area.

Notebook tools
By default, AI personas have access to the MCP server provided by the
jupyter_server_mcp package. Jupyter AI uses this to provide a notebook toolkit
to all AI personas by default.
These tools allow AI personas to:
Answer questions about your active notebook or active cell
Create and edit notebooks
Run code cells through the kernel
Open other files in JupyterLab
Custom MCP servers
You can share custom MCP servers to extend the capabilities of your AI personas and tailor them to your workflow.
To add custom MCP servers, create a .jupyter/mcp_settings.json file at the root
of your workspace. This file contains an array of MCP server configurations
under mcp_servers. Jupyter AI reads this file on startup and makes the
configured servers available to all ACP agents automatically.
Stdio servers
A stdio server runs as a local process. You specify the command and arguments to launch it:
{
  "mcp_servers": [
    {
      "name": "My Custom Tools",
      "command": "npx",
      "args": ["-y", "@my-org/my-mcp-server"],
      "env": [
        {"name": "API_KEY", "value": "sk-abc123"}
      ]
    }
  ]
}
Field |
Type |
Required |
Description |
|---|---|---|---|
|
string |
yes |
Human-readable name identifying this MCP server. |
|
string |
yes |
Path to the MCP server executable. |
|
list of strings |
yes |
Command-line arguments to pass to the server. |
|
list of objects |
no |
Environment variables to set when launching. Each object has |
HTTP servers
An HTTP server is a remote MCP server accessible over HTTP:
{
  "mcp_servers": [
    {
      "type": "http",
      "name": "Remote Tools",
      "url": "https://my-mcp-server.example.com/mcp",
      "headers": [
        {"name": "Authorization", "value": "Bearer my-token"}
      ]
    }
  ]
}
Field |
Type |
Required |
Description |
|---|---|---|---|
|
|
yes |
Must be |
|
string |
yes |
Human-readable name identifying this MCP server. |
|
string |
yes |
URL to the MCP server. |
|
list of objects |
no |
HTTP headers to include in requests. Each object has |
Full example
Here is a complete .jupyter/mcp_settings.json with both server types:
{
  "mcp_servers": [
    {
      "name": "Filesystem Tools",
      "command": "npx",
      "args": ["-y", "@modelcontextprotocol/server-filesystem", "/path/to/dir"]
    },
    {
      "name": "GitHub Tools",
      "command": "npx",
      "args": ["-y", "@modelcontextprotocol/server-github"],
      "env": [
        {"name": "GITHUB_PERSONAL_ACCESS_TOKEN", "value": "ghp_xxx"}
      ]
    },
    {
      "type": "http",
      "name": "Company Internal Tools",
      "url": "https://internal-mcp.corp.example.com/mcp",
      "headers": [
        {"name": "Authorization", "value": "Bearer my-token"}
      ]
    }
  ]
}
After saving this file, restart JupyterLab for the changes to take effect. All configured MCP servers will be available to every ACP agent in your session.